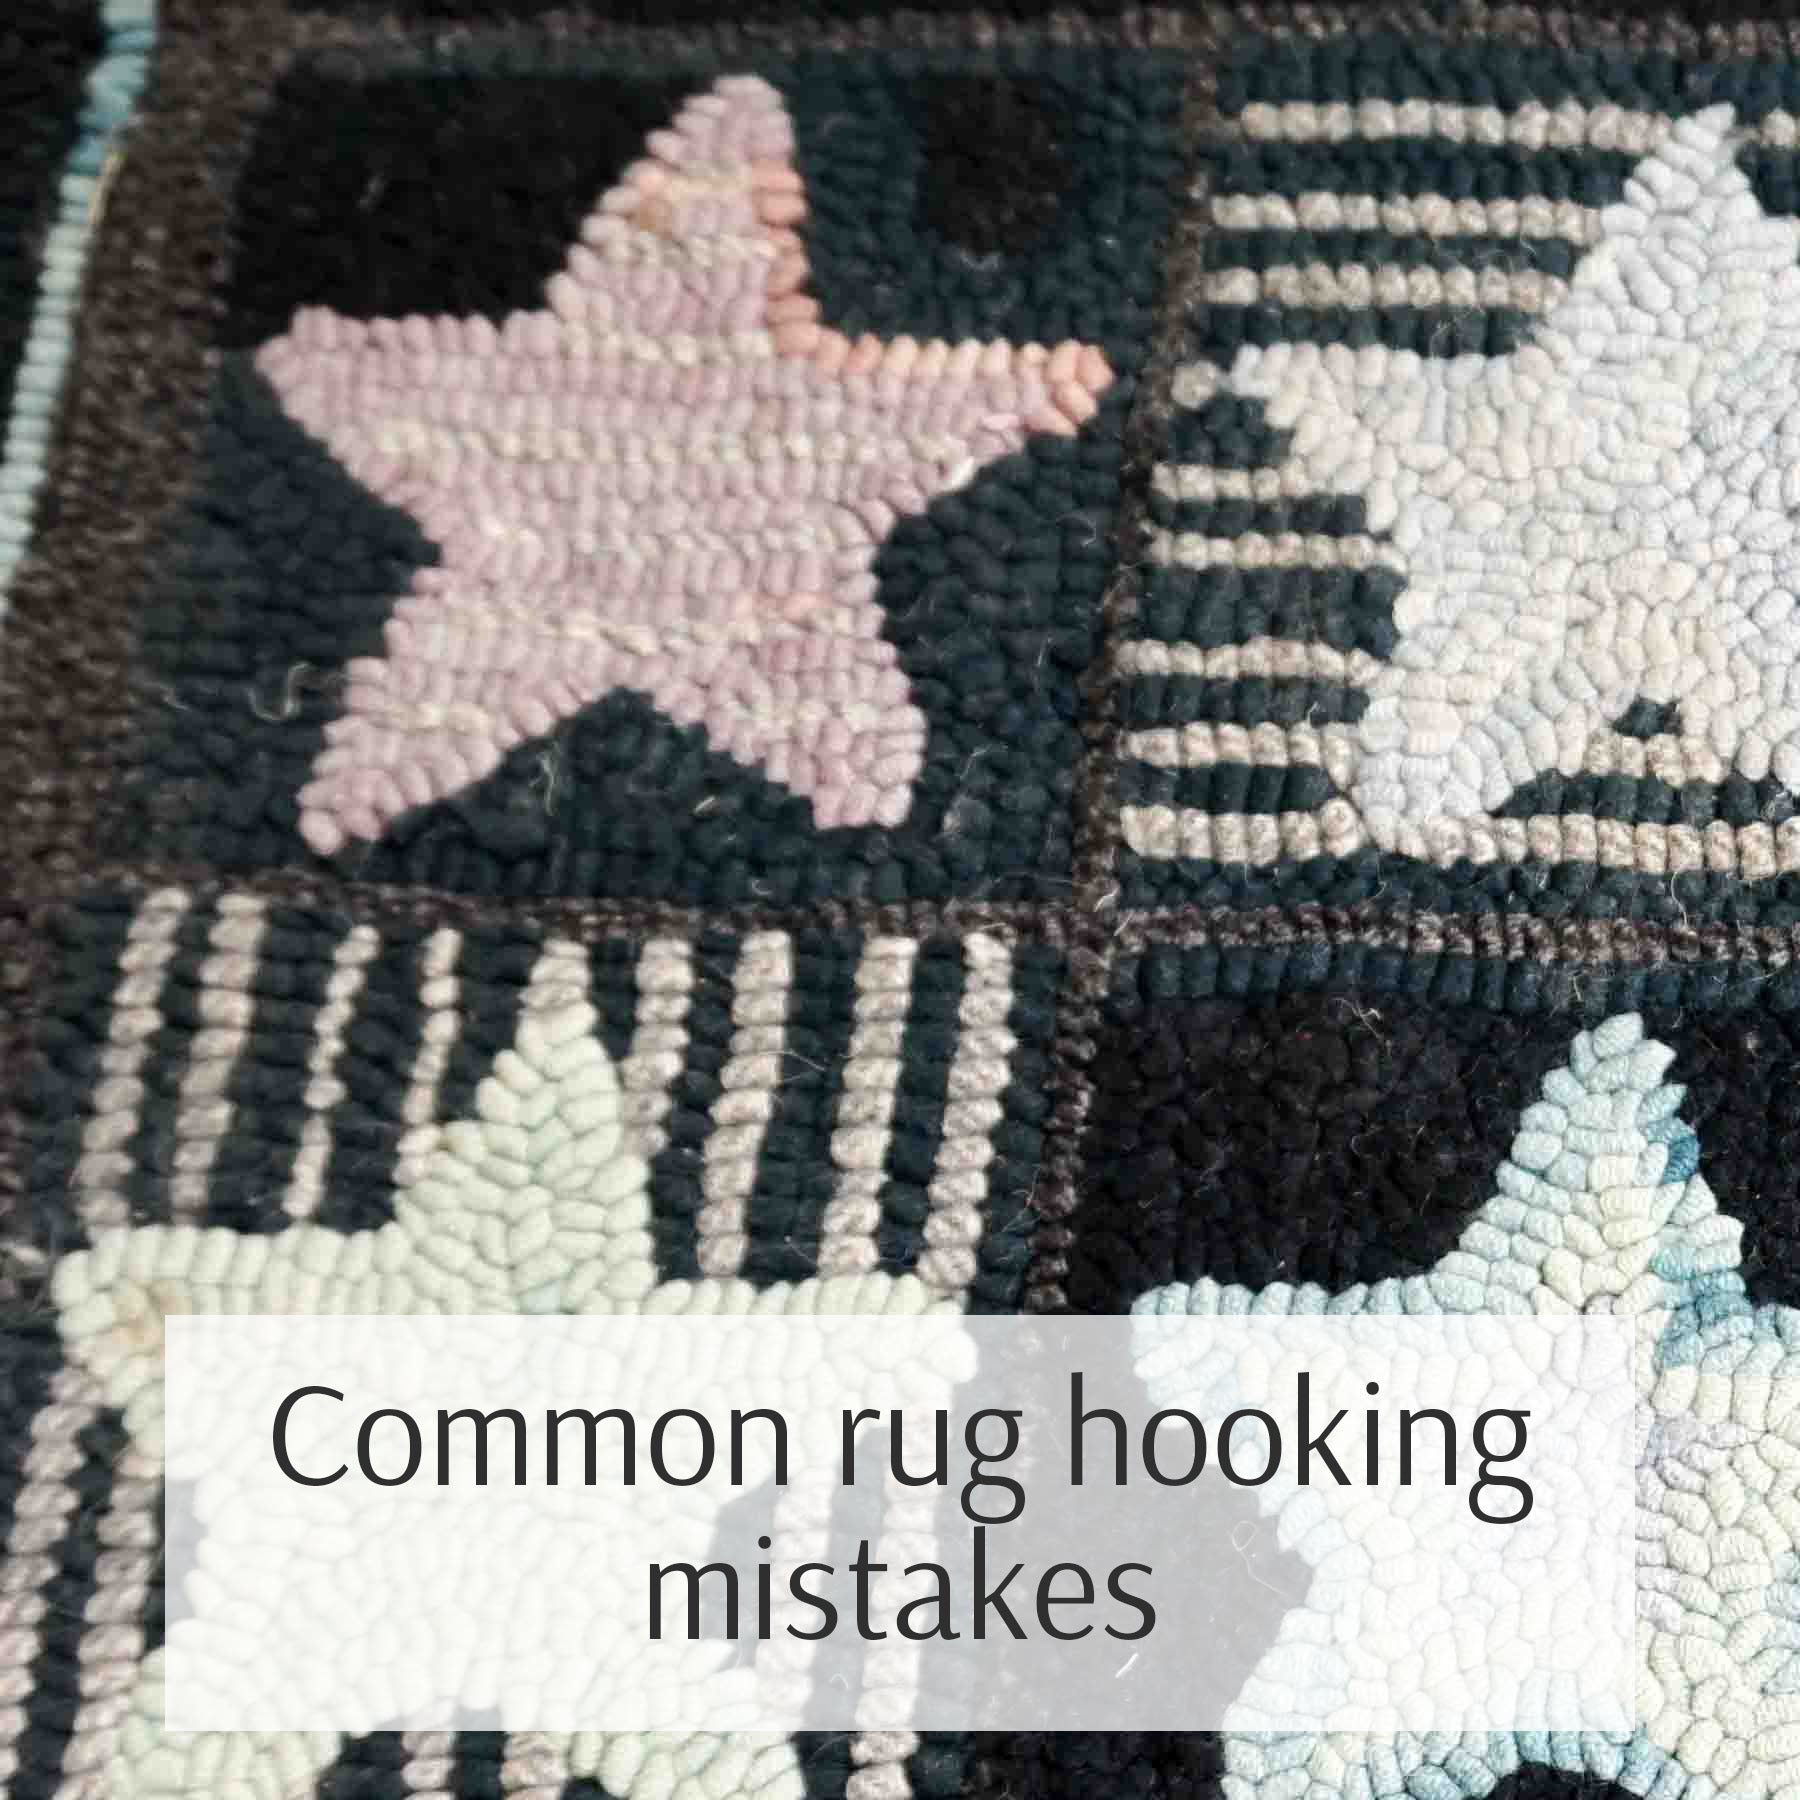

Beginner rug hookers can encounter lots of issues... and therefore have a lot of questions about what is "right". Here are a few common questions and Loopy's opinion. That said, one thing learned over years of rug hooking is that while there are lots of opinions, do what works for you. There is often no right answer. Rug hooking is an art, a craft, it is not about seeking perfection. There are aspects of rug hooking that should be done in a certain way to ensure that rugs last, or look neat and clean, and things that need to be learned the hard way, but for the most part, consider these comments 'best practices', but not the rule. Isn't it better when there aren't any rules to follow anyway?
Lesson One: Determining how much wool you'll need (also known as: I've run out of a color! What do I do now?)
There are good rules of thumb for determining how much wool you'll need. At Loopy, planning ahead isn't a strong suit (we readily admit it), it's more about 'going with the flow'. But for the planners, it's important to remember that it will depend on the cut of wool you're using, and how high you hook. A good rule of thumb is 4 times the area you'll be hooking if you're using a 4 cut, 6 times if using a 6 cut, etc. but you'll see in the blog post about size of wool that 3 times the area was plenty. That's all well and good, but when you're trying to assess the size of a shape that appears 15 times in your rug, it can be guess work. Most rug hookers will tell stories of running out of wool mid way through a project. To counteract this, it is often the case to buy much more wool than you'll need. And then you need to find a way to give up a closet or an entire room to rug hooking supplies. Not that there's anything wrong with that.
There are a few things you can do if you run out of wool midway through a project. If you did buy hand dyed wool from a rug hooking shop, keep the label. Often you can just buy more of the same. In fact, keep the label on any wool you buy if you can, there are different suppliers and different formulas, and it can be helpful to have this information months or years later. Another option is to pull out a few pieces of the wool and try to incorporate another colour. For example, if it's the background colour, pull out strips randomly that you've already hooked, and fill in with a different colour (matching or otherwise), done right this can add depth to the rug while using different colours. If you have a situation where you started a rug and then put it away for a period of time, you may need to pull out more than just a little bit of the colour to make it work.

Tip: If you do have extra wool, or lots of extra strips, experiment with hit and miss or just random creations. This piece was made using leftover strips from other projects.
Lesson Two: Mixing colours that look the same (the hard lesson learned about colours fading)
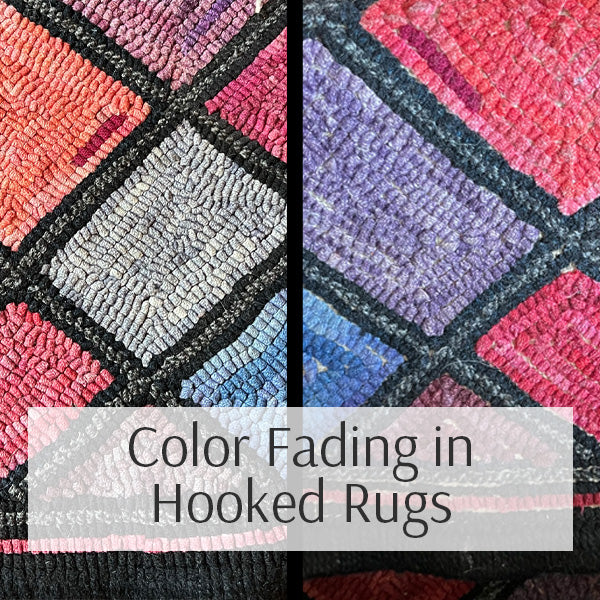
If you do need a lot of a particular colour, you may be tempted to mix in another colour that looks identical. This is one of those lessons that is often learned the hard way. Imagine that a beautiful large rug is created with two different background fabrics that looked identical during hooking. They are both a variation of black, and even when held up to the light looked identical. When hooking it is impossible to tell that two different colours were used.
 Over time, the two fabrics fade differently. They no longer look black, one actually fades to a navy blue, and the other stays generally black. As they were not hooked evenly throughout the background (as mentioned earlier when mixing two background colours), the overall look of the rug is ruined (at least when you get up close). At this point, the only way to fix it would be to hook the entire background again. A tough (but important) lesson is learned.
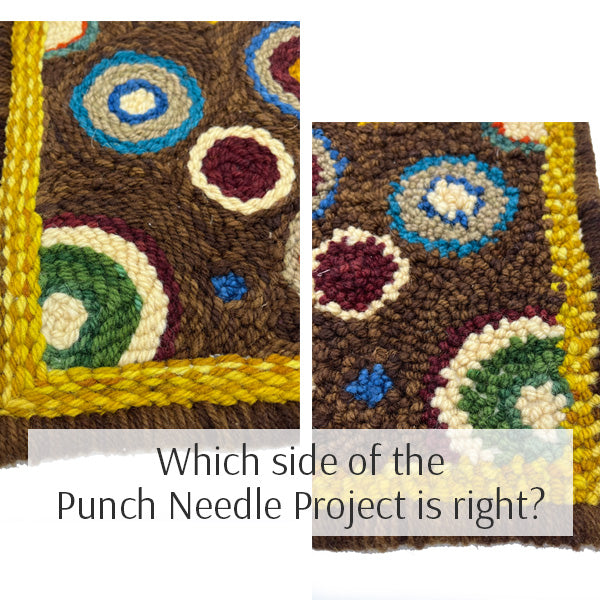
Lesson Three: Don't be lazy when finishing the edges
Ah. Finishing the rug. If you're like the folks at Loopy, we LOVE starting new rugs. Finishing them is incredibly difficult. Not because it's hard, but because the fun part is over (you know, the design, selecting the colours, creating something beautiful), and now it just feels like work. There are actu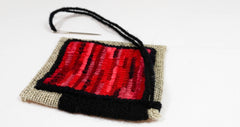 ally businesses set up that will finish your rugs for you (go here if you're interested). There are also many ways to finish a rug, and the preferred method at Loopy is to whip the edges with yarn, which unfortunately takes a lot more time than it looks like it will. In fact, with the Coasters rug hooking kit, it takes as much time to hook each one as it does to finish the edges. Take the time to finish the edges, appropriate to the end use of the rug (a rug that is going on the floor will need a sturdier finish than one that is intended for the top of a table or the wall).
Lesson Four: There really are no rights or wrongs
Most rug hookers have probably questioned their rugs as they worked on them. Many pull out colours or whole sections and try a different approach. A common saying at Loopy is "Once it's finished, it will look great." That's not to say that every rug can't be improved, or that it's not important to honestly critique your creations, but remember: it's an art. Art is unique. It's personal. And it's never wrong.